Welcome to the
Bee Happy Sew Along!

Today is week ten...
and we only have
a few more blocks:)
YaY!

Today's first tutorial
is the orange flowers...
I love this little block!

Grab your pieces...
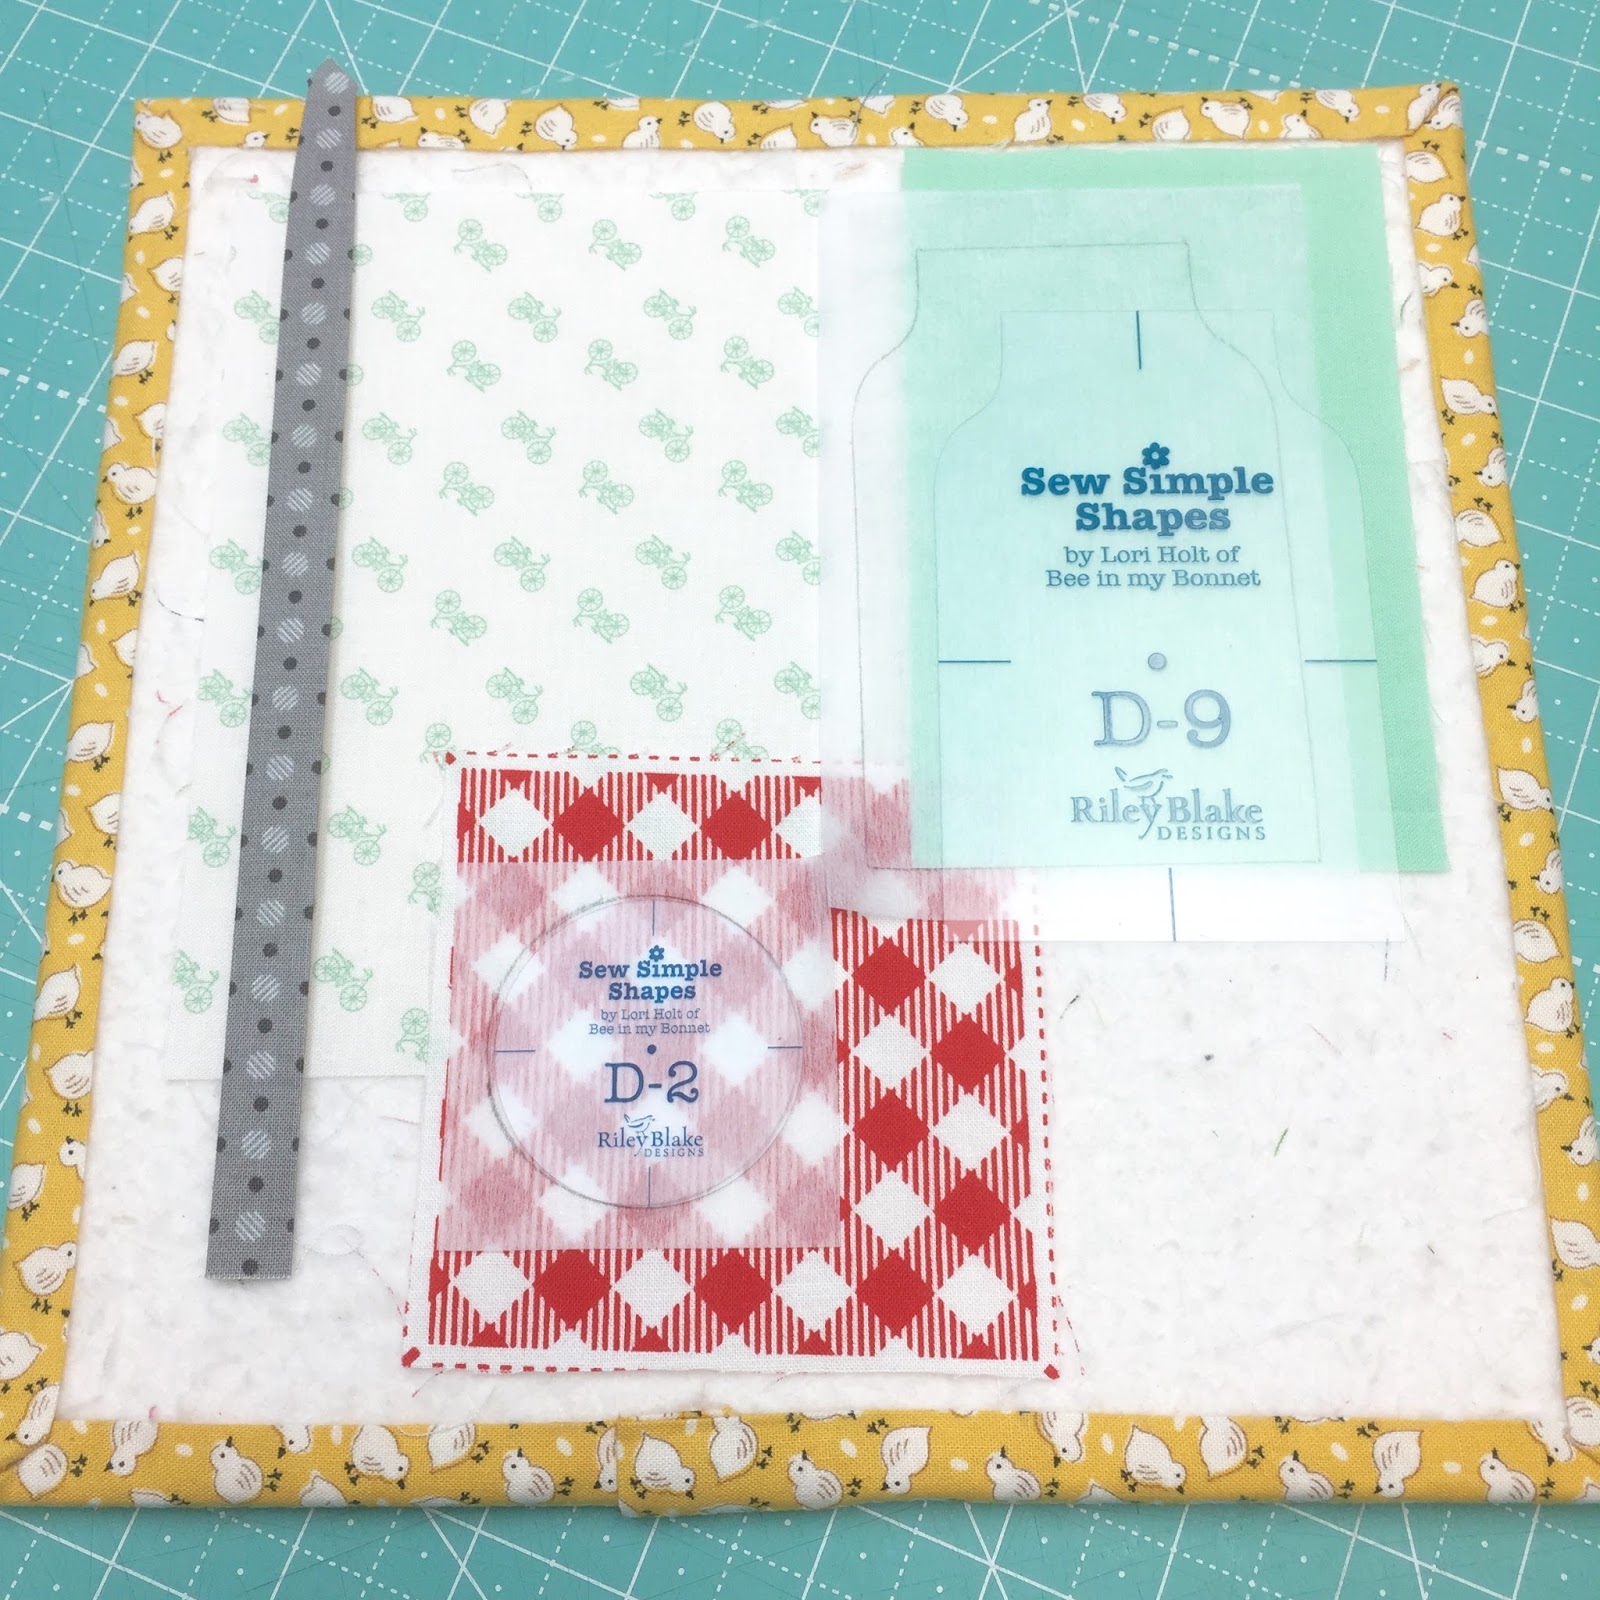
You will need
D-2 D-3 D-5 D-12 D-16
Run the stem strip through the
1/4" bias tape maker.
Press your background fabric
in half both ways like this.

Cut your stem 7" long and
glue baste it
right down the center
of your background...

Like this:)
Now let's start sewing!

When you trim your flowers...
you will need to clip the
5 cleavage areas on each one.

Shape and press...
and let's get them pinned!
Place the yellow flower center
3/4" in from the edges of background.
Pin the two circles in the center.

Now place your flowers on...
the stem length in-between should be about
1 1/2" long.

Now pin your leaves:)
***REMINDER***
I do the embroidery on my blocks
before I appliqué...
I'm just pinning mine beforehand
to show you placement***

I also sew on my buttons
before quilting...
but only if I know that
they will not be in the way of
the stitching and only if
it's okay with my quilter:)
The choice is yours!

All appliqued!
Your block should measure
4 1/2" x 12 1/2"
to sew into your quilt.

Now you can sew it to the pinwheels
and churn dash cherries block:)

YaY!
It's time for the watering can:)

Grab all of your pieces
and let's get started!
You will need
D-23 D-24 D-28
Run the coral trim through the
3/4" bias tape maker
Run the bias cut dark gray text
through the 3/8" bias tape maker
Run the straight one that
goes on the bottom through the
1/2" bias tape maker and
the smallest one for the bracket
through the 1/4" bias tape maker

Measure 2 1/2" up from the bottom
of your watering can rectangle
and place your coral strip...

And glue baste it into place.

Do your stitching on the shapes...

And then measure in 1"
from your sewn line and
mark a new sewing line...

Like this.
Now sew across that new line...

And trim off the excess.
Your watering can
just went on a diet!
haha

Now turn ...
shape and press:)

Press your background
in half like this...
and then place the top piece 1"
from the top edge.

Place the watering can
1 3/4" up from the bottom edge.

Place the top of the spout 1"
in from the side as well as the top.

Cut a piece from the bracket strip
and glue baste...
glue baste the bottom trim as well.

You can trim off excess of the
spout and the half circle on top
that goes underneath the watering can
for less bulk if you want.

Glue baste the handle by
starting at the top and
curving down to the side.
Do a little at a time
just like when you did
the Bee Happy letters:)

The handle should be 1"
in from the side edge.

Tuck the end under...
trim off excess:)

All ready for appliqué!

I just love how the grays look
on the red penmanship background...
don't you?
Your watering can block
should measure
8 1/2" x 10 1/2"
to sew into the quilt.

Now you can sew it to the
bottom of the butterflies block...

And sew row five together...

And add it to the
bottom of your quilt!

All of the rows are sewn together now...
next week are the honeycomb blocks.
Yippee!!
I'm sew proud of y'all:)
xx
Lori
PS.If you are just getting started...
remember that there is
a link to each and every blog post
of this sew along...
right here on my blog.
Simply look on the right side bar
and scroll down to find the
Bee Happy Sew Along...
and click on the post
that you would like to read!