Friday, April 30, 2010

Part 2 of Hexie Tutorial - Flowers

Well hello again...here I am for part 2 of my tutorial....making a hexagon flower.

I like to join the sides (petals) of the hexagons together first.
Again...I DO NOT stitch into the paper at any time while joining the hexies.
I only take a small bite out of the fabric that is on the edge of each one that I am joining together.


I first join 2 with right sides together...then 2 more and then the remaining 2.
Then I join those segments together to form a ring.
I always knot off after joining one hexie to another.


Joining the petals first just works out better for me...and I can "audition" several hexie prints for the center...to see which one I like the best.


I leave my papers in when forming the rings.


However...I like to take the paper out of the center hexie, making it more pliable and a little bit "stretchy" if needed for allowing me to stitch the corners together perfectly.


After I have completely stitched the center hexie in...I knot off my thread and carefully pull out the papers. (see part 1 for paper removal)
If I am making a larger flower, at this point I would add another row of hexies before removing my papers....but I am using small flowers for this project.
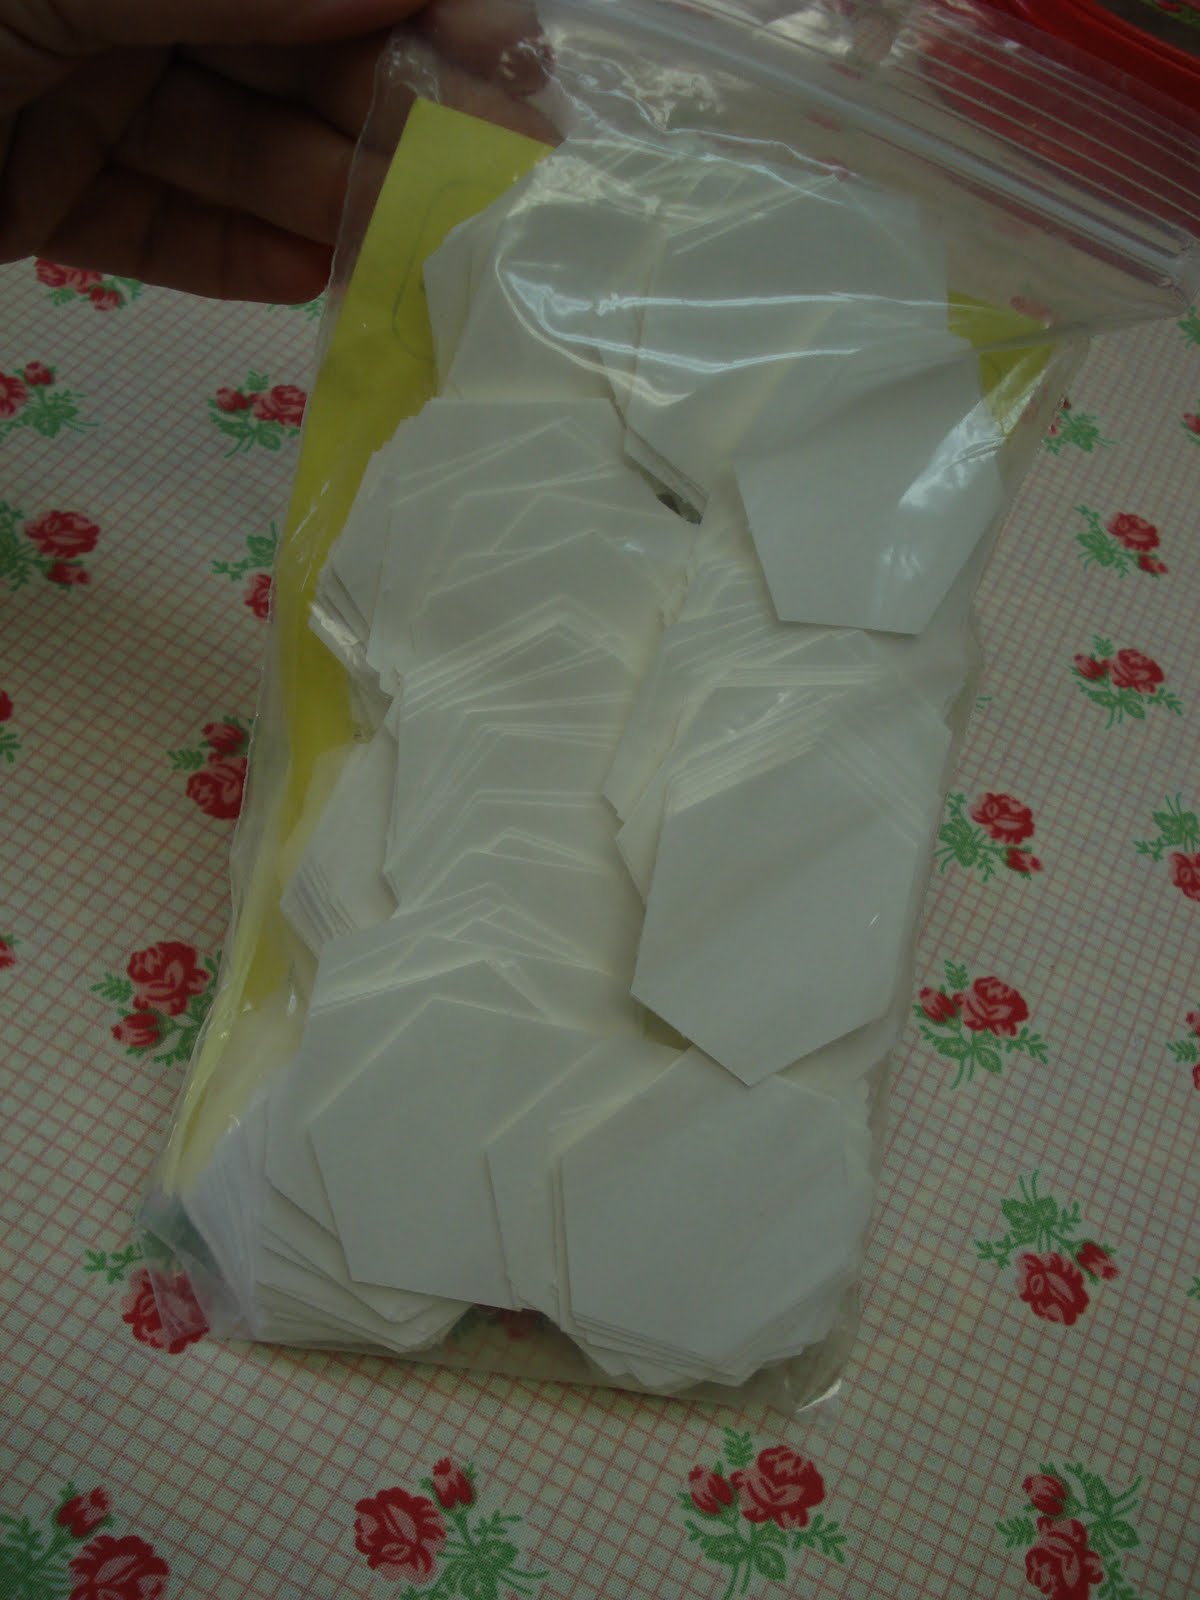
By the way...I press the papers to use again just like I explained in part 1.


Then I press...and I mean PRESS...( I do not move my iron back and forth)...I just set it on my flower for a few seconds on the backside...


...and then I spritz it a little on the front with Mary Ellen's Best Press...and press the front.


I let it cool completely before picking it up. I like how the best press gives my flower a crisp new feeling ...and it smells good too! I used the Lavender Fields scent on this one:)


I used a regular whip stitch on the green and yellow flower above....which works just fine....however....I normally do a little something extra with my whip stitch that I want to show you.

Below is a close up of my variation of the whip stitch.
I feel that stitching this way secures my stitches better and helps to hide the stitches from the front.


I do a regular whip stitch but before I pull my thread up all the way...I insert my needle through the loop and then finish pulling the thread snuggly but not too tight as to break it ...or distort my seam so that it won't lay flat when I open my hexie flower.


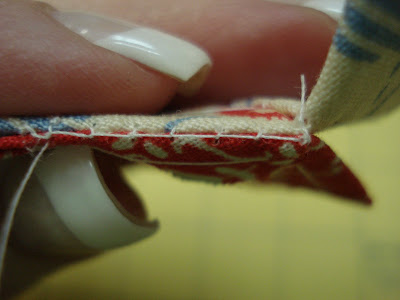
This is what my stitching looks like from the top view of the seam.
This stitch is also how I knot off my thread...so I guess you could say that each stitch is a single knot
.
However when I knot off, I do the stitch two or three times in the same spot as needed for securing properly.....I also leave a small tail when cutting my thread after knotting.
I feel that by doing this, it's harder for the knot to come undone when pulled while stitching into a quilt.
I don't worry about the tails showing...I just make sure that they stay tucked in the back of my flower.


I have a good start on my flowers now....


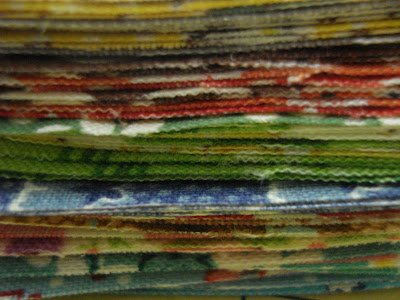
I am making them very scrappy and all with a vintage look.
I am trying to make the centers of my hexie flowers matchy while not being too matchy (if that makes sense to any one but me)...lol!


I hope that you have enjoyed my tutorial on how I do my english paper piecing.
It works for me...and I hope it works for you too.
I would love to hear what you think!

Wednesday, April 28, 2010

Hexie Paper Piecing Tutorial - Part 1

Okay peeps...this is a continuation of my last post where I showed you how I cut out my hexagons.
Now I'll show you how I stitch them around paper pieces.
I'm sure there are alot of ways to do english paper piecing but this is how I do mine and it has worked for me for lots of years...


I place the hexagon paper in the center on the wrong side of the fabric hexie and use a paper clip to hold down the seam allowance on one edge. The paper clip is a really handy helper. He helps to keep the paper centered by stopping the fabric from sliding around.

I like to assembly line my hexies....as you can see in the background of my photo!

I use a single thread about 18" long in my needle and tie a knot on the end.
I like to have a pincushion handy for my needle inbetween steps....this one my BFF Nanette gave me.
I love it.
Thanks Nanette. It's just perfect for this project.


I always begin with the corner on the left of my paper clip.
Fold it over as you see in the photo above.... I make sure the fold underneath is folded all the way under...kind of like when I am wrapping a gift and fold the paper on the ends of the package.


I take a small stitch across the fold like so...
THIS IS IMPORTANT....I DO NOT stitch into the paper EVER.
Only the fabric.
This means that I am simply sewing the fabric hexagon AROUND the paper hexagon and not sewing it TO the paper hexagon.


After the first stitch.... I do it again in basically the same spot to secure that fold in place...for a total of 2 stitches over each fold.


I then continue working counter clockwise around the hexagon....folding first and than making 2 stitches to secure.


When I get to the last fold....I pop up the seam allowance with my needle like the photo below...

...and then use my needle again to fold it under so that all of my folds are going the same direction....I'm just weird that way.


Then I stitch in the same way as previous folds with one exception....


I make two extra stitches and knot off my thread by putting my needle through the loop of thread before pulling it all the way through.


I then cut my thread and leave a small tail.


This is what it looks like from the back ....


...and this is what it looks like on the front.
I CAREFULLY remove my paper clip by sliding it off on a diagonal so that I don't pull my fabric off of the paper.
I like to use my trusty iron and PRESS my hexagon on the right side to make a crease on the edges. I DO NOT use steam....as this would shrink it somewhat.
At this point...I either leave my paper in if I am stitching my hexie into a flower....or I remove the paper now if I am going to applique the hexagon onto fabric.


This is how I remove my paper.
I fold the paper so that I can get my fingernail in under the edge of the paper and carefully take it out....


...one corner at a time...being careful not to distort the hexie or pull too hard.


And here is my hexie.
I know it has taken a long time to show you... but it really only takes a minute from start to finish to do one of them.


At this point...I do NOT throw away my paper. I just press it for a second on each side...


....and it's good as new and ready for another go.
"Waste not want not".


It's a fun process and totally portable. I seperate my hexies into sixes (you need 6 for the petals in a small flower)...and put them in snack size zip-lock baggies.
I put them all in a plastic container to stay organized.


Kassidy has been stitching them for me too...you know that she is my stunt double...lol.
For those of you who don't know... Kass is my 10 year old cutie pie daughter.
She uses this little red polka dot ring pincushion when she does handwork.


To give her incentive...I pay her a dime for each hexie.
It really adds up for her. One complete bag is worth 60 cents to her and worth a small flower for me!
Because we work from the same container...she puts a punched flower with her initial stamped on it inside each bag of 6 hexies that she has completed.
That way...I can keep track of which ones she has done and I will know how much to pay her.

For my next post I will show you how I sew the hexagons together to make a flower.
If you are following along....you better start cutting some hexies!

Click Here For Part III


Monday, April 26, 2010

Die Cutting Hexies Tutorial...

Over the weekend I have been having fun cutting for a new project....although this time instead of my standard rotary cutter, mat and ruler....I have been using a die cut.

I already have a die cutting machine that I use for paper and I just LOVE it. It's from Stampin Up and it works very well. Stampin Up has so many adorable and useful dies that I have used and I also have been able to buy any other brand of die cut to use in it.

So, while I was on retreat last week, I found a couple of die cuts for cutting circles and hexagons....out of fabric....YAY!


The brand name is accuquilt. The Accuquilt die cutting company is new (or at least in my neck of the woods) and is for cutting fabric instead of paper.
They also sell thier own machine but as I said, I only needed the dies.
If you want to know more, check them out here.

They have several other standard quilting shapes to offer such as squares, triangles, rectangles etc...but I wasn't interested in any of those as I have used my rotary cutter for years to cut them out and I simply don't see why they would be necessary or useful enough to pay the price.

However...when it comes to hexies and circles I was really exited to get my hands on those!
Shapes that aren't so easy to cut with the rotary cutter are very appealing to me and I also love the idea of being able to cut multiple layers at a time.

The above photo shows some of what I have been doing with the hexagon cutter. Fun right?


Accuquilt hexagon die cut cuts 3 sizes of hexies, 2"...3"...and 5".
Keep in mind that is the CUT size of the hexagon...NOT the finished size.
I spent the weekend cutting 3" hexies because they pair up well with my 1" finished paper pieces. By using this size, I have plenty of seam allowance to wrap around the papers.
Just in case you didn't know, a 1" finished hexagon is really 1 3/4" tall x 2" wide.
The 1" measurement refers to the length of each of the 6 sides of the hexagon.
Kassidy has been wanting to learn english paper piecing so I thought this was the perfect project for her to learn on. She loves using my die cutting machine for paper so I knew she would love to cut fabric with it too!


These are my hexagon papers. You can buy different sizes along with smaller packages but I bought the big one as I seem to use the 1" size most often ....and I don't like to run out when I'm right in the middle of a project. You can find them online here.


Soooooo...picture this.....
I'm in my studio...I have set up my die cutter and my new hexie die,
I pulled some fabric from my stash,
I turned on my ipod to something groovy,
grabbed a bottle of water and some popcorn ( I know, no chocolate. I am trying to take better care of myself!)
....now I was all prepared to have fun with my new toy.
I put a few squares of fabric on the tray...
I went to put it through my machine and....
it.
wouldn't.
fit.
No......... it was too wide to go into my machine by only a very scant 1/4" but still...too wide.
So, as I DO NOT easily give up on something that I really want, and before throwing both dies back in the bag and finding my receipt for a refund, I examined the die to see if it could be cut down on to size.
Now I'm on my soap box...I'm pretty sure that accuquilt would love to sell as many of thier own machines as they can, but I really think they should have thought it through before making thier dies only to fit thier machines. I know this makes perfect sense to them but what about people like me who already have a machine but would love to use thier dies?.....I say to them....
"Happy costumers = happy sales".
I discovered that it was made of wood and was wrapped in plastic on the sides and bottom with black foam on the top.The actual blades are made of metal but are in the middle and under the foam so of course I didn't need to worry about them.
I then immediatly called Mr. Honey because that's what I always do because he can fix anything.
He was on his way home from work and said..."no problem".
He used a hacksaw to trim 1/4" off on one side and then used a file to smooth it out.....it took him about 5 minutes.
I tried it again and it worked like a charm!
My better -half to the rescue again.
That's why I call him "Mr. Honey"!


Below is my cutie -patootie "Big Shot". It's made by Sissix for Stampin Up. There are several brands of die cutting machines on the market but I did my research when I bought this one and I have been completely satisfied.

Other brands I'm sure work well ...but I also really loved the look of this one.
It looks vintagey to me...kind of like the styling of a ringer washer and a featherweight all rolled up in one.....lol.
I know, I'm weird like that. But my motto is...
"If you're gonna to buy something, it might as well be cute!"

....and it is.
Don't you think?
If you want one for yourself...you can find out about it here.Now let me tell you what really clinched it for me when I was looking to buy...
Stampin Up sells a designer bag for it.
yes.
I know.
adorable.


It looks like a doctor bag and is black and white gingham with a little pink and black stripe.
Below is the inside which is equally adorable along with the fact that there is plenty if room to store several die cuts along side the cutter. (the handle comes off for storing)
The bag was important to me because I need a compact and portable way to store things in my studio.

Okay....here is how I did the cutting.
I cut my fabric for each of the 1" finished size hexie 3" tall by 3 1/4" wide.
I precut these with my rotary cutter in preparation to die cut them into hexies.
This step didn't take much time at all and was well worth it to make sure that I didn't waste any fabric and that it lined up over the blade correctly.
I used fat quarters from my stash and cut a 3" strip by about 22".
I was able to get 6 hexagons from one of these strips which worked out perfectly for 2 reasons...
1. I need 6 hexagons from each fabric to make the petals of one flower so I only needed to cut one 3" strip from each fat quarter. ( if you are making 2 flowers, cut 2 strips etc...or cut a 3" strip x WOF).
2. I found that cutting 6 layers of fabric at a time works best for my cutter. That means I could easily cut for one flower from one fabric in about 3 seconds!

So.... after I figured that out, I went to town cutting a strip from lots of fat quarters from my stash in a variety of prints and colors that I love to work with and stacked them up all ready to go.


Here is a close up of what it looks like to cut them....


I placed the six - 3" x 3 1/4" pieces onto the foam and centered over the 3" hexagon blade. The foam protects you from touching the blade.
You can see the lines of the 5" hexie on the top and the lines of the 2" hexie underneath.
I rolled it through my machine and out came 6 perfectly cut hexies!


Of course this is what they look like after removing the outside leftover fabric....okay I'll do it again to show you what that looks like....


....not much fabric to spare...just enough to cover the hexie size. I don't like to waste.

So the cutting continues....


Do you like?
I do.
Lots of hexies in a row.
But remember...the cutting is only the first step.
In my next post I will show you how I stitch each hexie around a paper to make flowers.

Click Here For Part II
Related Posts with Thumbnails